
The “Healing Brush” is for sure one of the most popular and helpful tools available.
It could help you in tons of situations, going from hiding pimples to removing a whole object or person from an image.
This tool, known as “Spot Removal” (Q) tool in Lightroom, counts with two basic modes: “Clone” and “Heal”.
The first one duplicates a texture sampled from a specific spot of the image. While the second one blends a texture sampled with the original texture you are covering.
Stay with me to learn all you need to know about this useful tool.
How to Use the Healing Brush Tool in Lightroom
Go to the Develop module. Click on the “Spot Removal” (Q) tool and select either “Clone” or “Heal” mode. Set the “Size” value. Then adjust “Feather” to 50, and “Opacity” to 100. These values work great in most situations. Now, paint over the spot to heal. Finally, drag and place the patch and its source if necessary.
Step 1: Go to the “Develop” Module
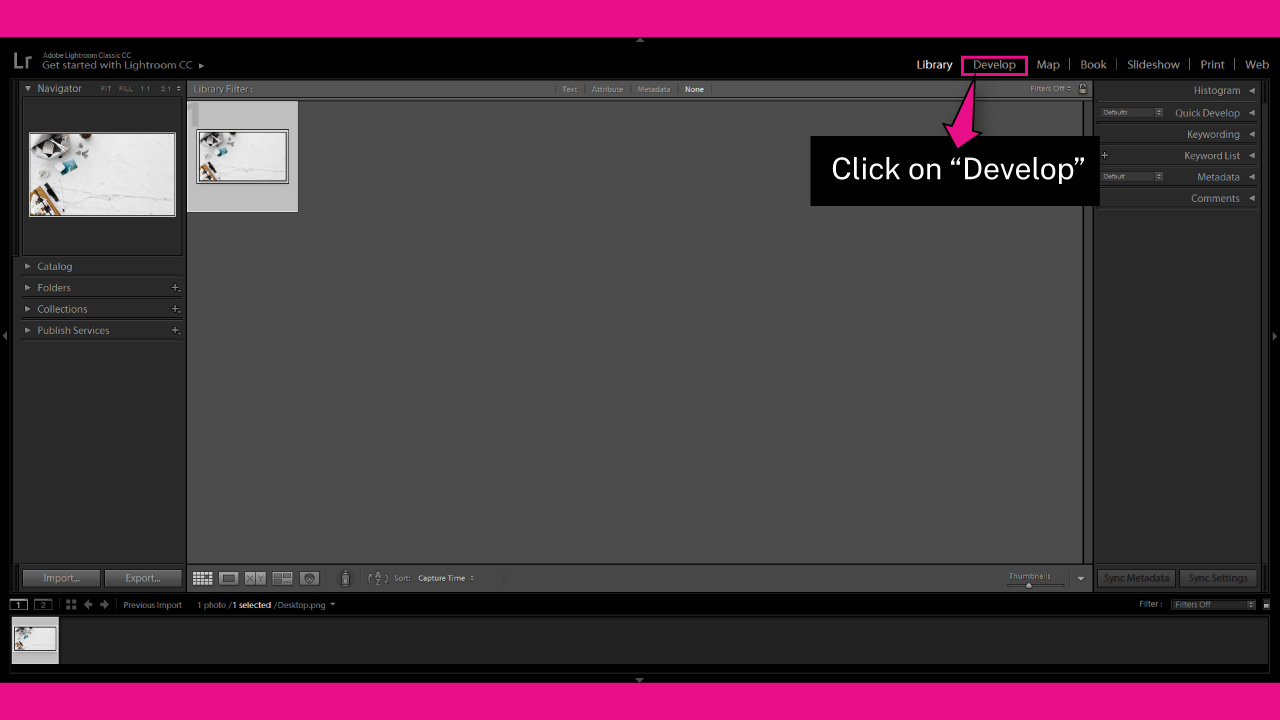
Once you have imported your image in Lightroom, go to the “Develop” module on the toolbar at the top of the screen.
If you can’t visualize it, click on the ▼ icon to unfold the hidden modules panel.
You can also access the “Develop” module by going to “Window > Develop” on the toolbar at the top of the screen.
Or by pressing the “Ctrl + Alt + 2” (Windows) or “Cmd + Option + 2” (Mac) command.
Step 2: Adjust the “Spot Removal” Tool
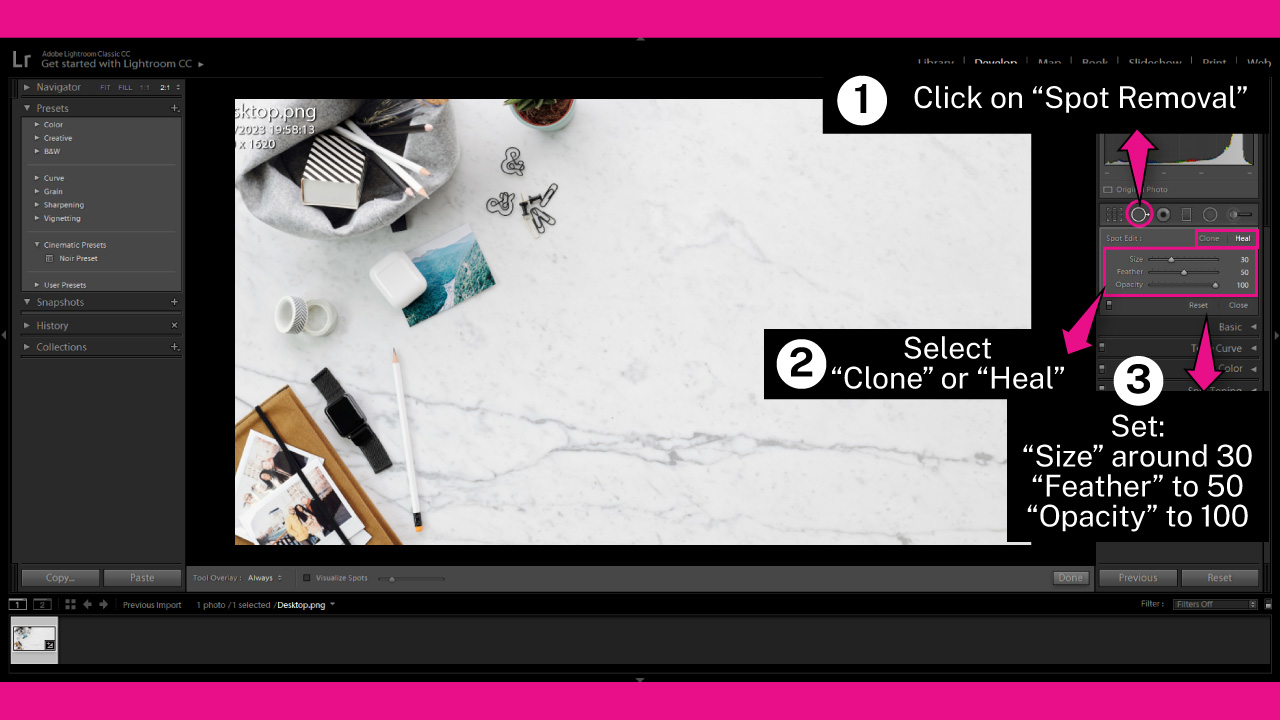
Click on the “Spot Removal” (Q) tool located on the right side toolbar.
Or press the “Q” key from your keyboard to shortcut it.
The “Spot Removal” (Q) tool, also known as “Healing Brush”, works by patching different textures, so that you can also remove glare from glasses in Lightroom.
On the “Brush” settings, you can select either “Heal” or “Clone” mode.
The “Heal” mode blends the sampled details and colors with the brightness of the hidden area. While the “Clone” mode duplicates the same texture you selected.
If you’re not quite sure which one you should use, you can simply select one, and if it doesn’t work, give it a try with the other.
I’ll go with the “Heal” one this time.
Then I’ll set:
“Size” to 30 (this may obviously vary)
“Feather” to 50
“Opacity” to 100
You can change the “Size” value by using the scroll wheel of your mouse.
A smaller brush size is almost always preferable over a bigger one, since the smaller one can be more accurate and specific, allowing you to get better results.
Step 3: Use the “Spot Removal” Tool
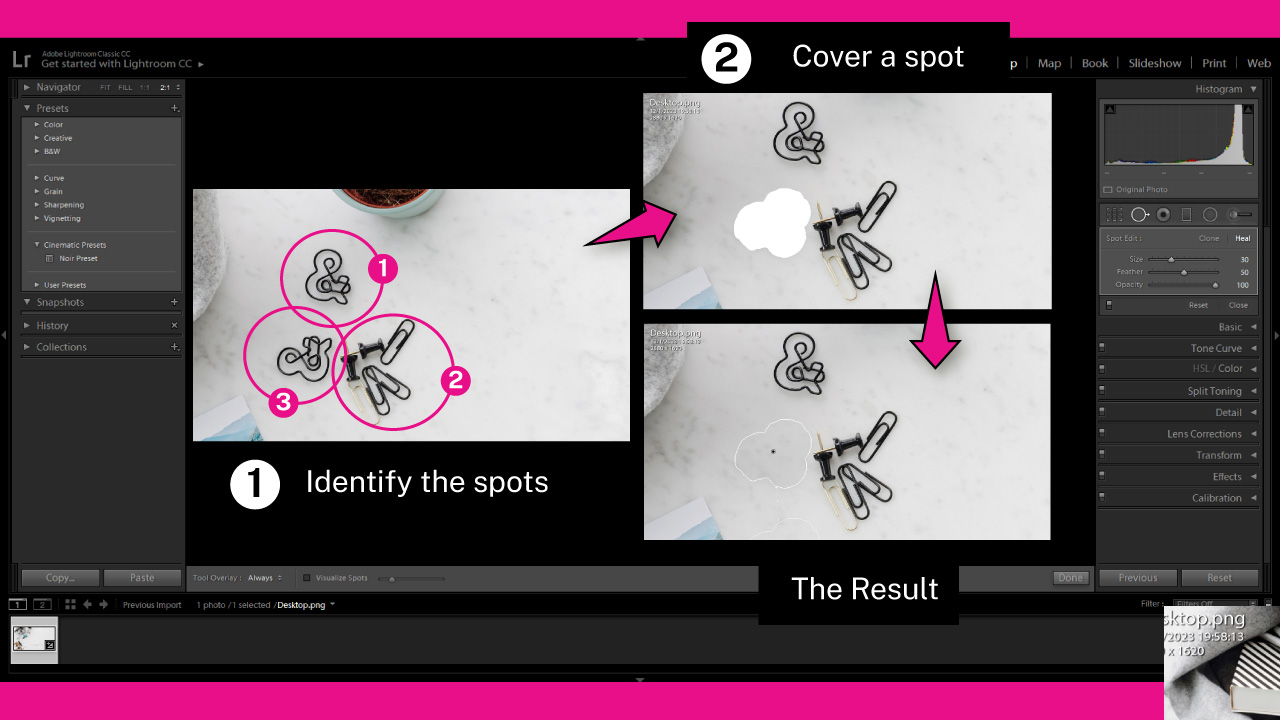
Identify the spots you need to apply the “Spot Removal” (Q) tool to. I’ll cover the paper clips for this example.
The clips are spread in three groups.
Choose a spot to patch, and use the “Spot Removal” (Q) tool to cover it.
In order to cover it properly, you can’t release the left-click during the process until you’ve finished covering the entire spot.
Make sure to cover the object completely. You can even paint a little extra and increase the area as a safety margin.
The idea is to cover the clips completely.
Once you’ve finished, you can then release the left-click.
Step 4: Drag and Place the Patch
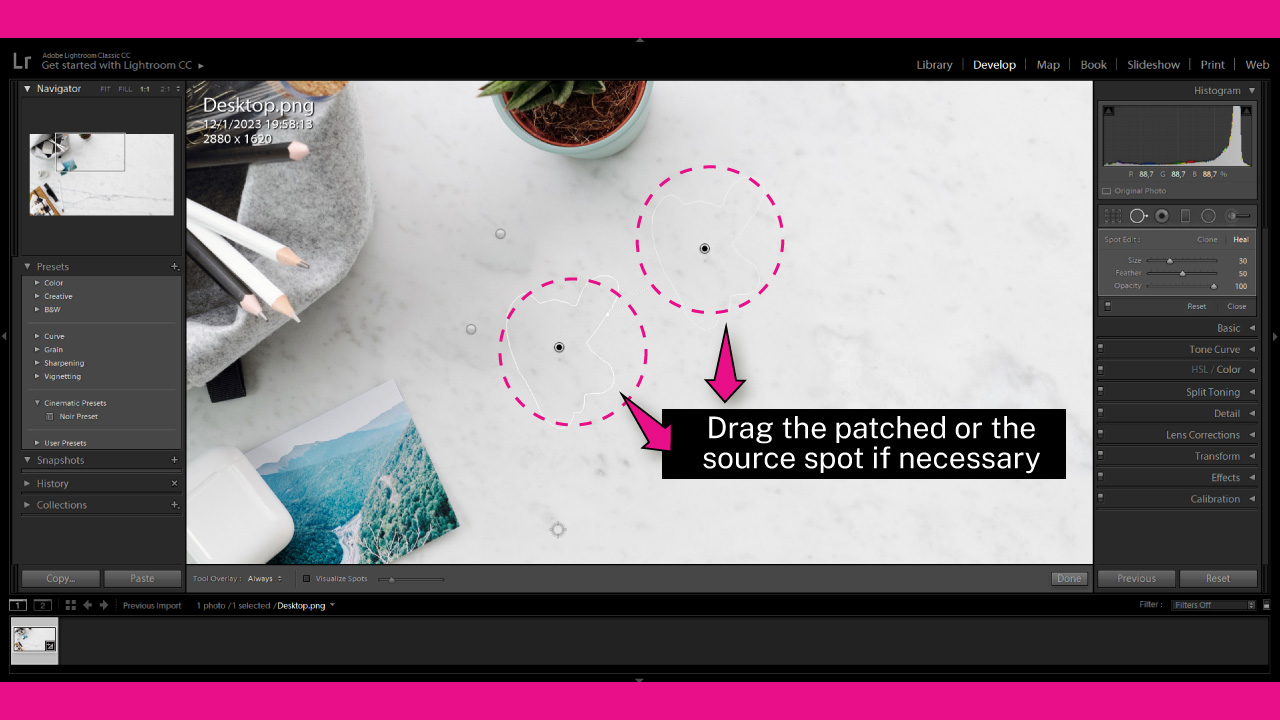
Once you’ve finished covering your selected object, it will automatically fill with a texture.
The source of this texture is a sample of a certain spot extracted from your image.
The Lightroom AI will select a spot that it considers will work better to cover the clips.
However, you will very often need to drag and place the patch and the source to achieve better results.
Simply drag and place the patch and source spots if necessary.
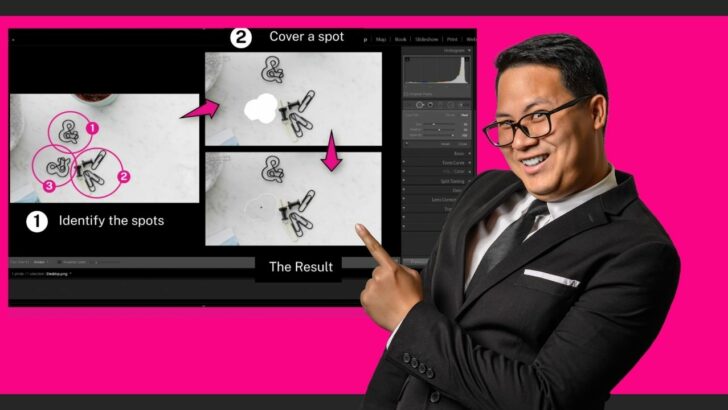
The Result
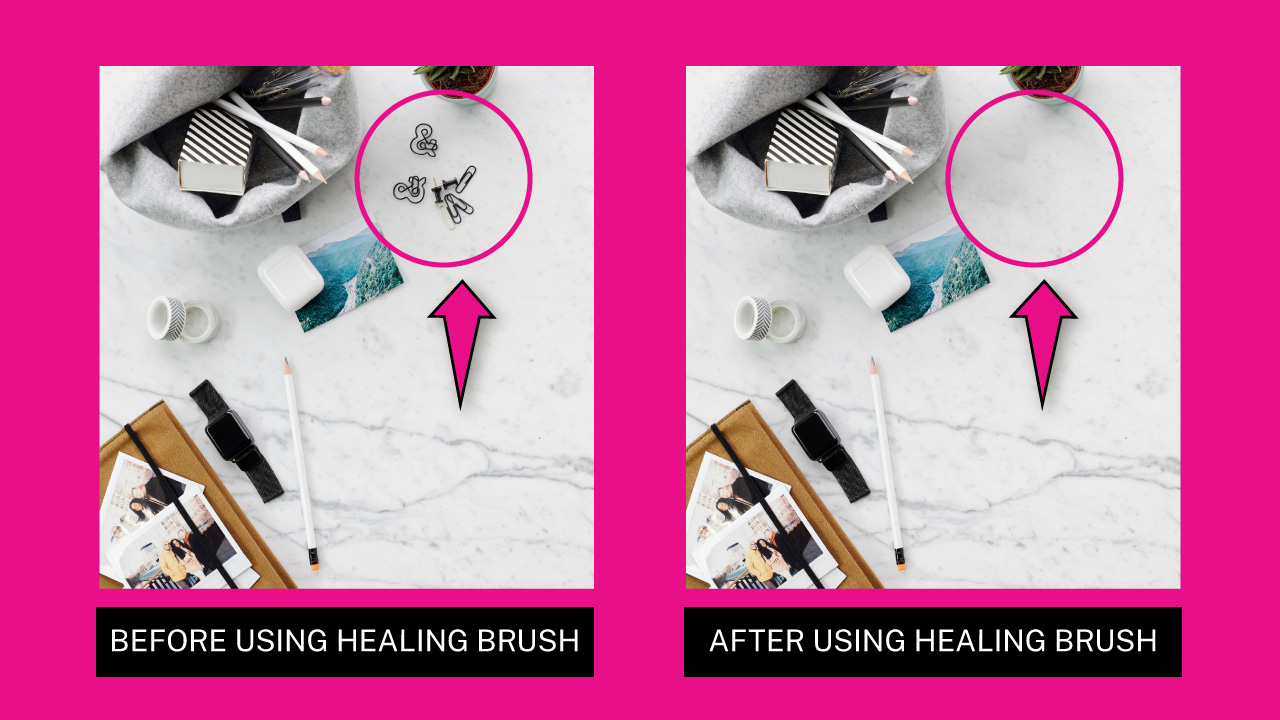
This is the result of how to use the “Healing Brush”, a.k.a “Spot Removal” (Q) tool in Lightroom.
Frequently Asked Questions on “How to Use the Healing Brush Tool in Lightroom”
Where is the “Healing Brush” tool in Lightroom?
The “Healing Brush” is called “Spot Removal” (Q) tool in Lightroom. This tool is located on the “Develop” module. Once you are there, click on the “Spot Removal” (Q) tool located on the right side toolbar. Or press the “Q” key from your keyboard to shortcut it.
What’s the secret to successfully healing a spot in Lightroom?
To get better results, set a small brush size and make sure to avoid gaps when you’re covering the spot. You can even paint a little extra and increase the area as a safety margin.

I am a professional blogger and entrepreneur with a strong interest and passion in photo editing. On MindRelic, I happily share my expertise in the photo editing niche with all of you guys!