
When you edit a photo from a photoshoot, you probably take your time trying different settings combinations, like adjusting the exposure, highlights, shadows, curves, and so on.
When you finally get the fine-tune, you then have to apply it to the rest of the photoshoot.
However, repeating this process manually could take you almost eternally.
Lightroom aims to improve your photo edition workflow.
That’s why it has the special feature to save presets, so you can apply them later either to a single image, or in bulk.
Don’t miss this quick and helpful tutorial, so you can improve your skills and save a lot of time.
How to Create a Preset in Lightroom
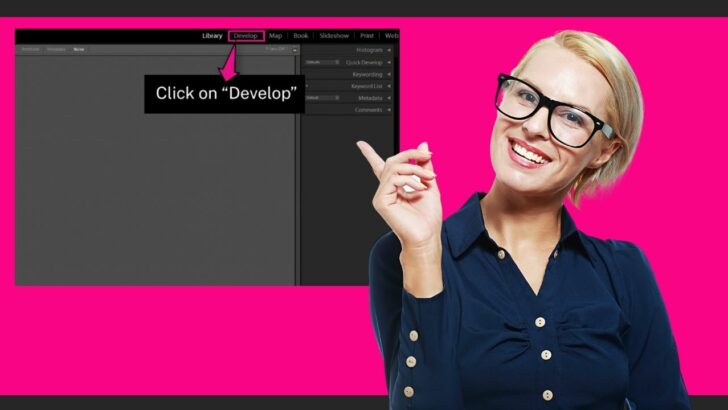
- Go to the “Develop” module
- Adjust the settings on the right side toolbar
- Click on the “+” symbol next to the “Preset” title on the left side toolbar
- Click on the “Check All” button
- Type a name for the preset
- Select or create a group to save
- Click on the “Create” button
Step 1: Go to the “Develop” Module
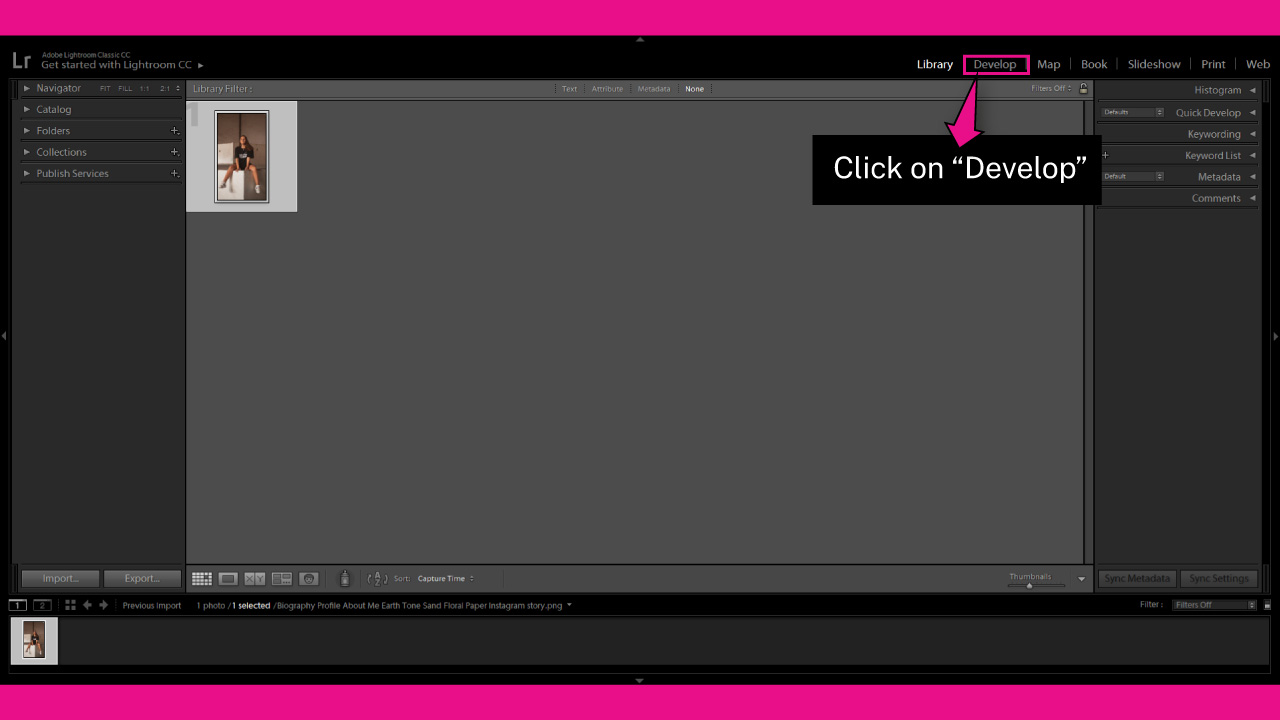
Once you have imported your image in Lightroom, go to the “Develop” module on the toolbar at the top of the screen.
If you can’t visualize it, click on the ▼ icon to unfold the hidden modules panel.
You can also access the “Develop” module by going to “Window > Develop” on the toolbar at the top of the screen.
Or by pressing the “Ctrl + Alt + 2” (Windows) or “Cmd + Option + 2” (Mac) command.
Step 2: Adjust the Settings
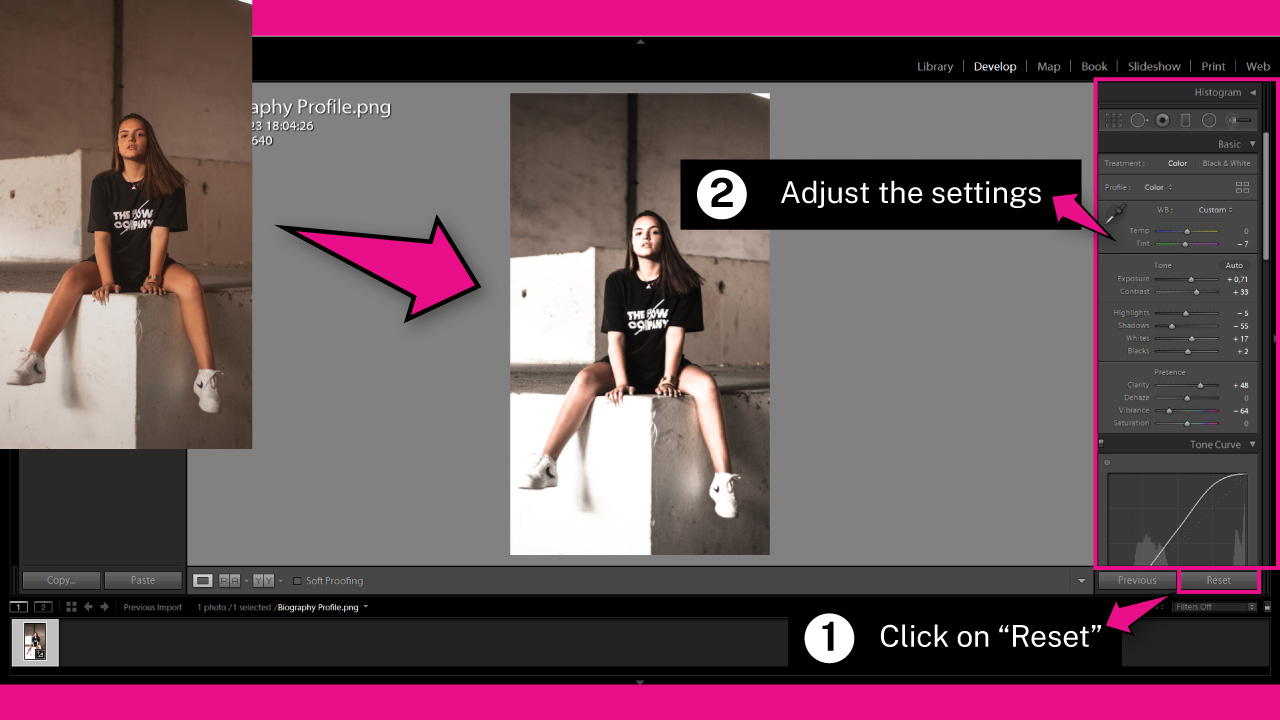
Go to the right side panel and click on the “Reset” button to start brand new settings.
Now’s time to start adjusting these settings.
You can adjust the settings for the the following panels:
Histogram
- Basic
- ToneCurve
- HSL/Color
- Split Toning
- Detail
- Lens/Correction
- Transform
- Effects
- Calibration
Try different combinations until you get your desired result.
Step 3: Create a New Preset
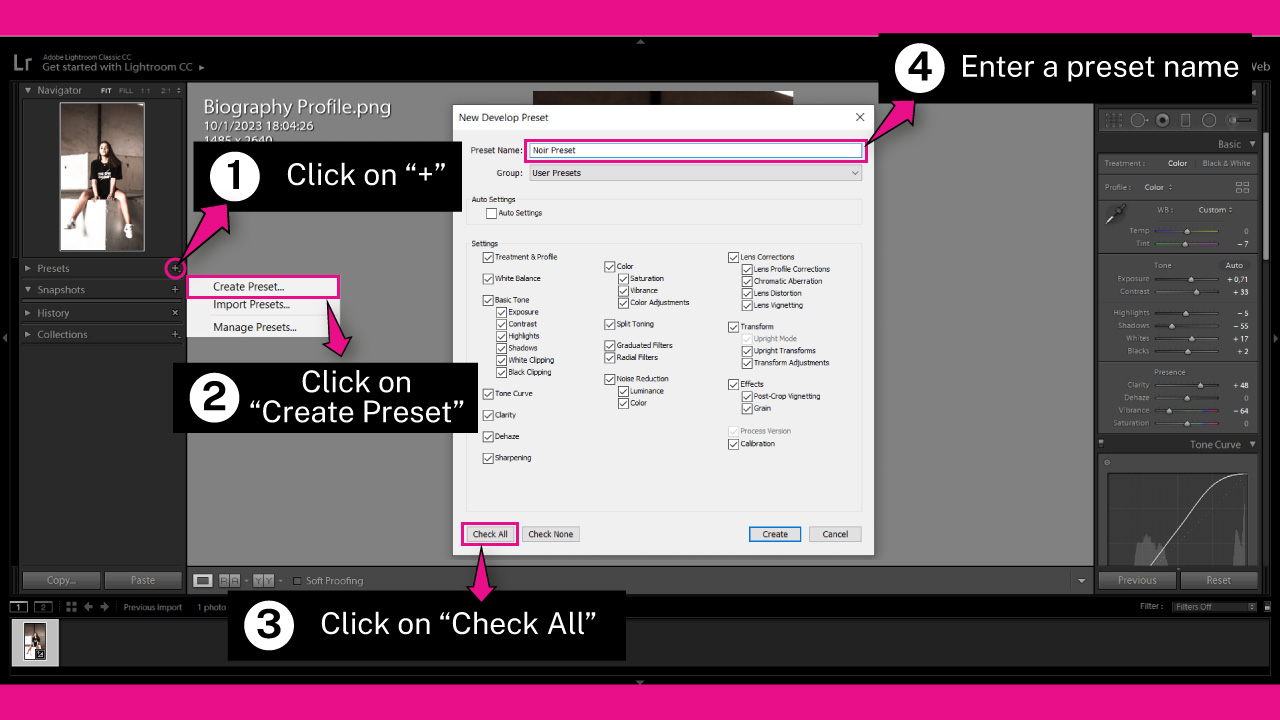
Once you have finished adjusting the sliders, click on the “+” symbol, next to the “Preset” title on the left side toolbar.
On the unfolded menu, click on the “Create Preset” option.
On the “New Develop Preset” pop up window, click on the “Check All” button to mark all the “Settings” checkboxes.
Or if you prefer, you can click on the “Check None” button, and mark the settings you want to save one by one.
I’ll go with the “Check All” button, since I want to save the exact same adjustments I set for this photo.
Next, enter a name on the “Preset Name” field at the top of the window.
I’ll call my preset “Noir Preset” for this example.
Step 4: Create a Group
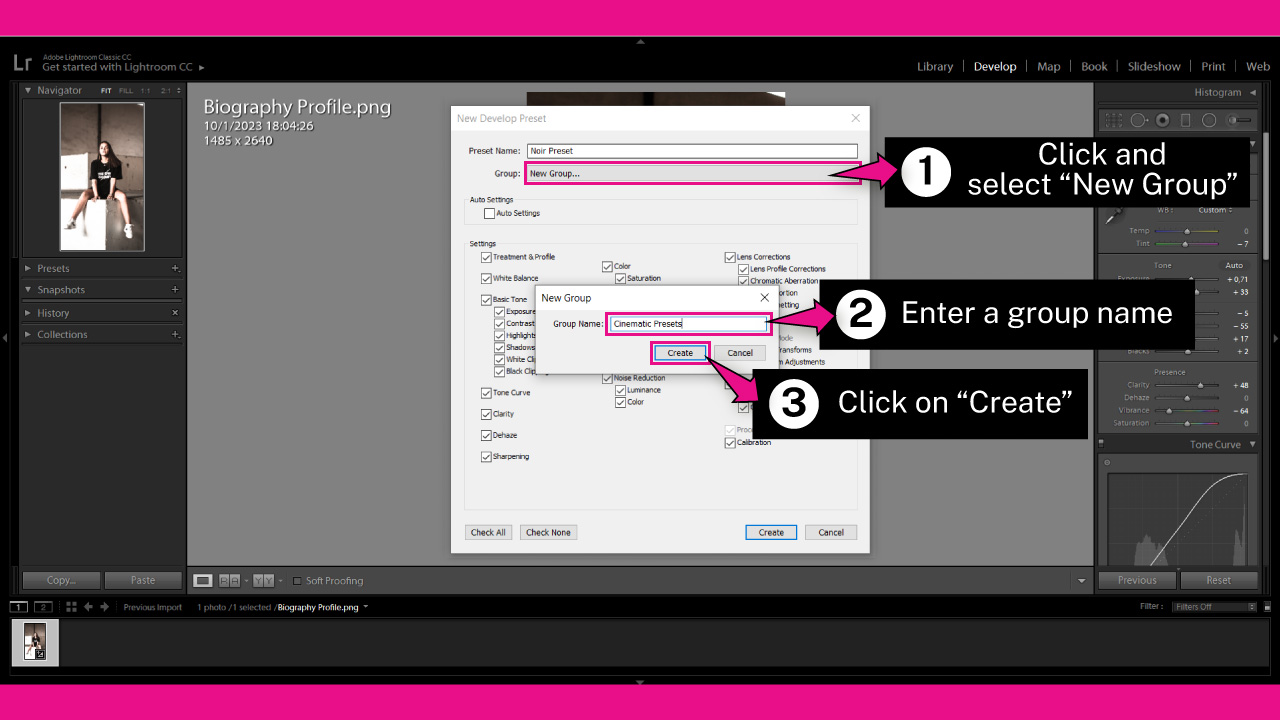
On the “Group” drop-down menu, select one of the following options:
“New Group” if you want to save the preset on a brand new group.
“User Preset” if you want to save the preset on a generic group, that comes as default.
A group that you have created before.
I want to create a new group since I didn’t create one before. So I’ll go with “New Group”.
Once you’ve done this, the “New Group” window will pop up.
On that window, type a name on the “Group Name” field. I’ll type “Cinematic Presets” for this example.
Once you’re done, click on the “Create” button to save the group name.
Step 5: Save Preset
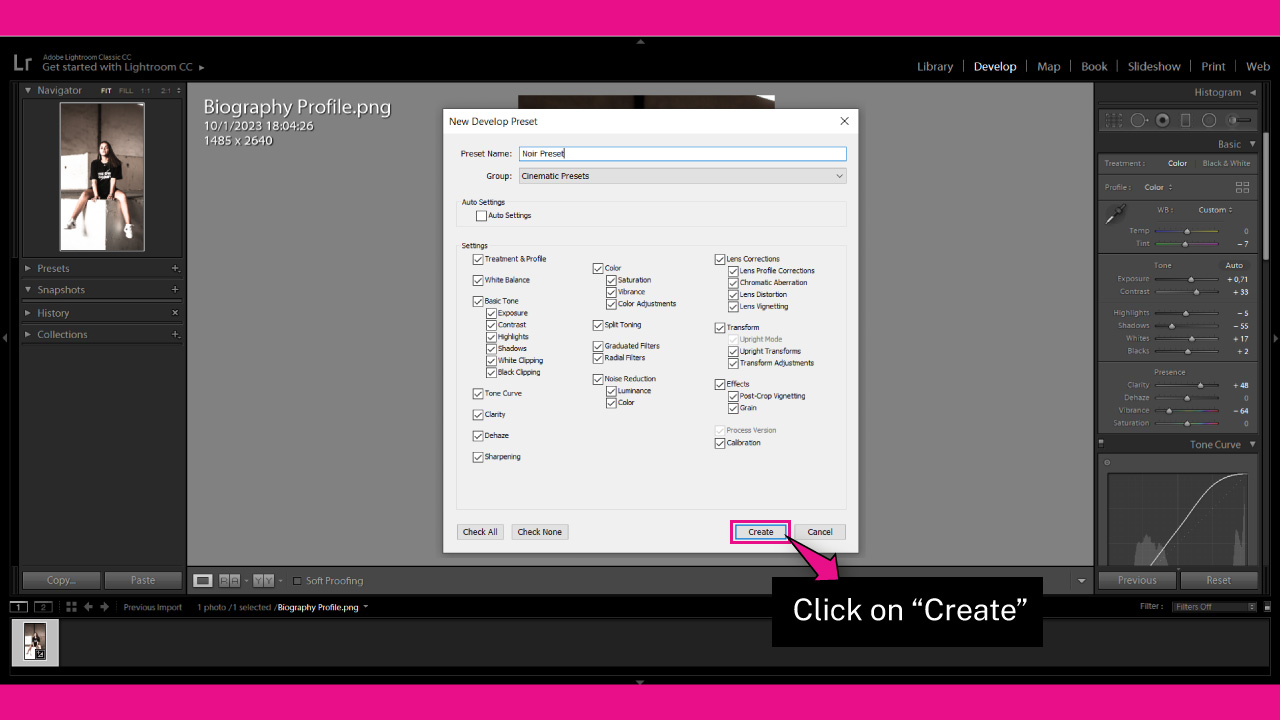
Click on the “Create” button, but the one from the “New Develop Preset” window this time, in order to save your preset.
Step 6: Edit a Preset
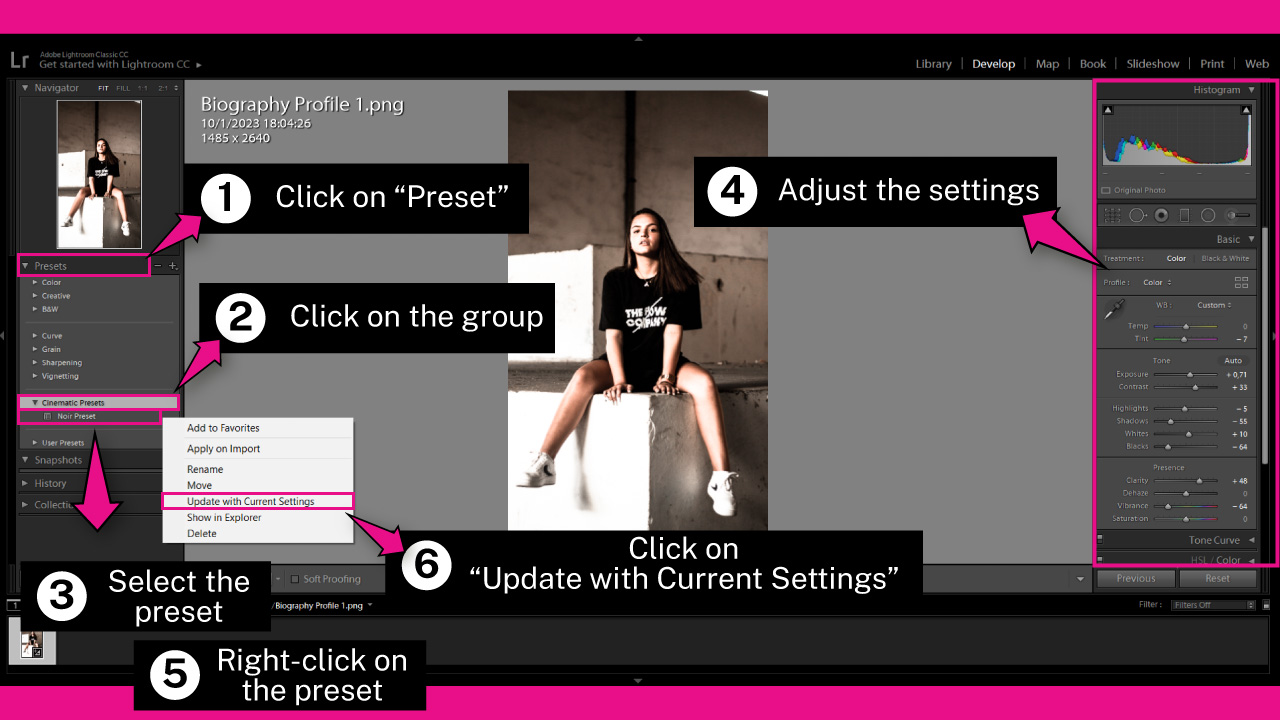
This step is optional. The purpose of the step is to edit a preset we have already created or imported.
To edit a preset, click on the “Preset” drop-down menu on the left side toolbar to unfold the presets list.
Find the group the preset is located in, and click on it to unfold the menu.
Select the preset you want to edit.
Next, adjust the settings sliders on the right side toolbar.
Finally, left-click on the selected preset to unfold its own options menu.
On the unfolded menu, select the “Update with Current Settings” option to apply the changes to the saved preset.
Frequently Asked Questions on “How to Create a Preset in Lightroom”
How to save a preset in Lightroom?
On the “Develop” module, adjust the settings on the right side toolbar. Then click on the “+” symbol next to the “Preset” title on the left side toolbar. Click on the “Check All” button, and type a name for the preset. Select or create a group to save. Finally, click on the “Create” button.
How to save a preset in Lightroom mobile?
Once you’ve applied the adjustments to your photo, tap on the three dots icon at the right of the screen. Then tap on “Create Preset”. Mark all the checkboxes and enter a name for the preset. Tap on the “Preset Group” and select a group to save. Finally tap the check icon to save.

I am a professional blogger and entrepreneur with a strong interest and passion in photo editing. On MindRelic, I happily share my expertise in the photo editing niche with all of you guys!